" If you want to know how rich you are, count all of the things in your life that can't be bought with money." ---Unknown
| 
|
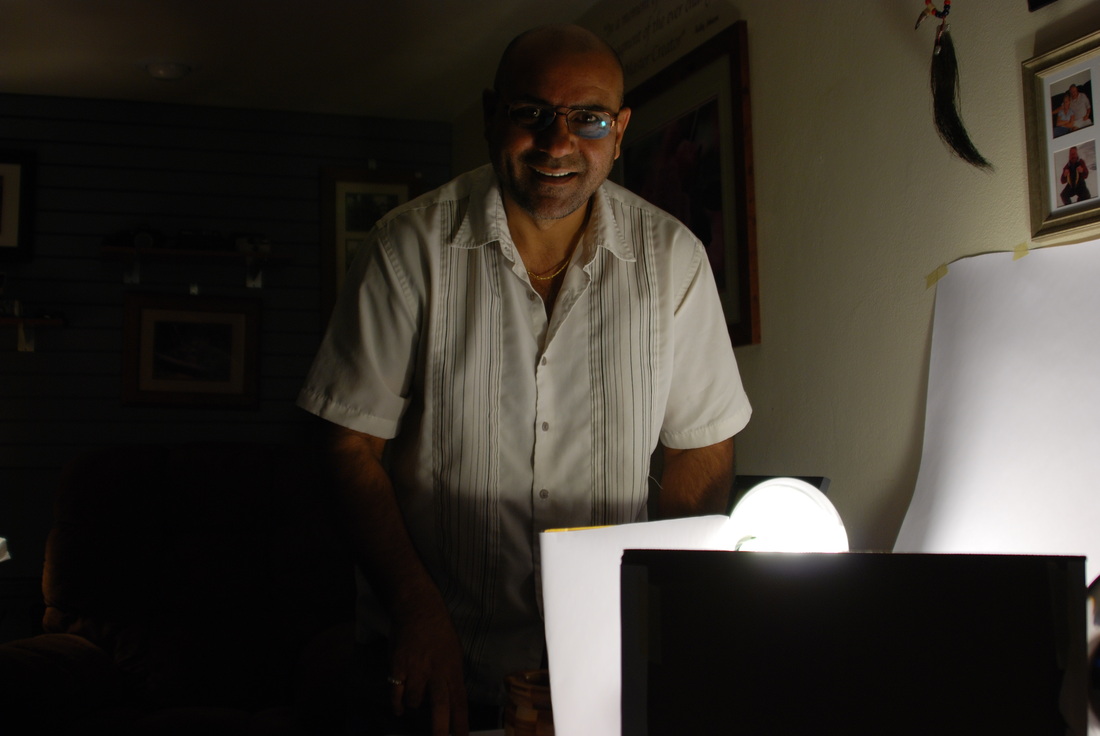
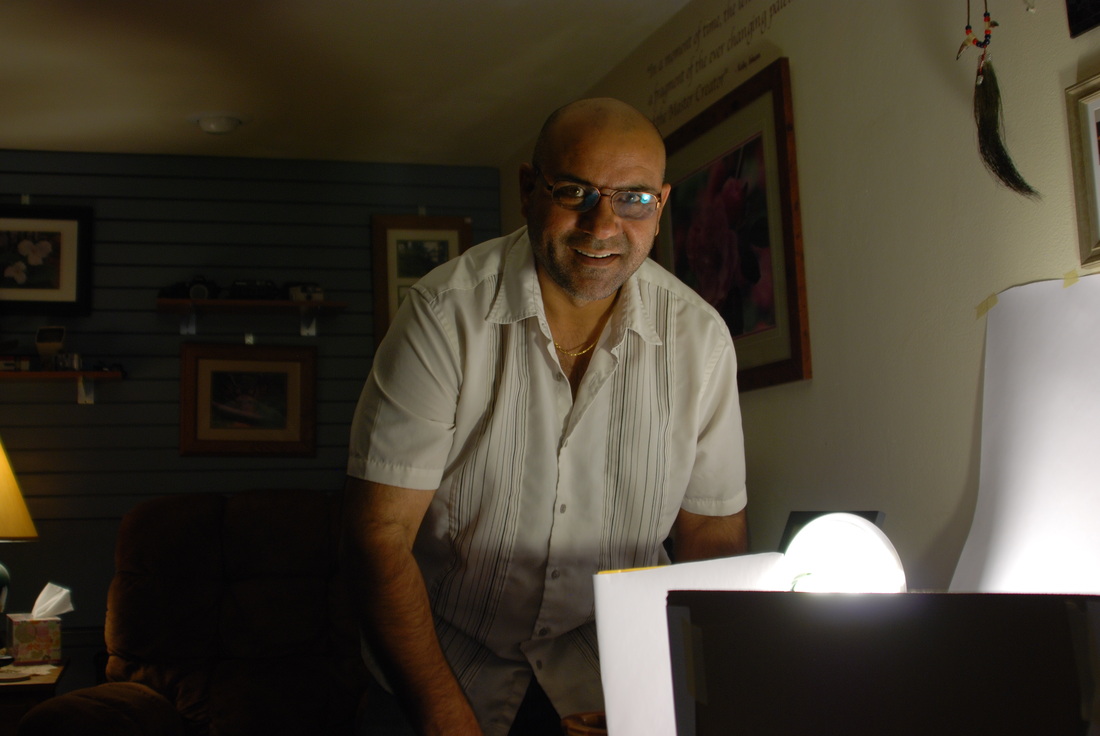
Fuad Azmat teaching me how to take photos of my ceramic pieces.
Fuad a consummate photographer and friend came over to our house and helped set up a mini studio for taking shots of my art work. Lots of little variables to know, but I will share with you what I learned so far. Fuad teaches photography as well as doing professional work for individuals and companies.
| 
|
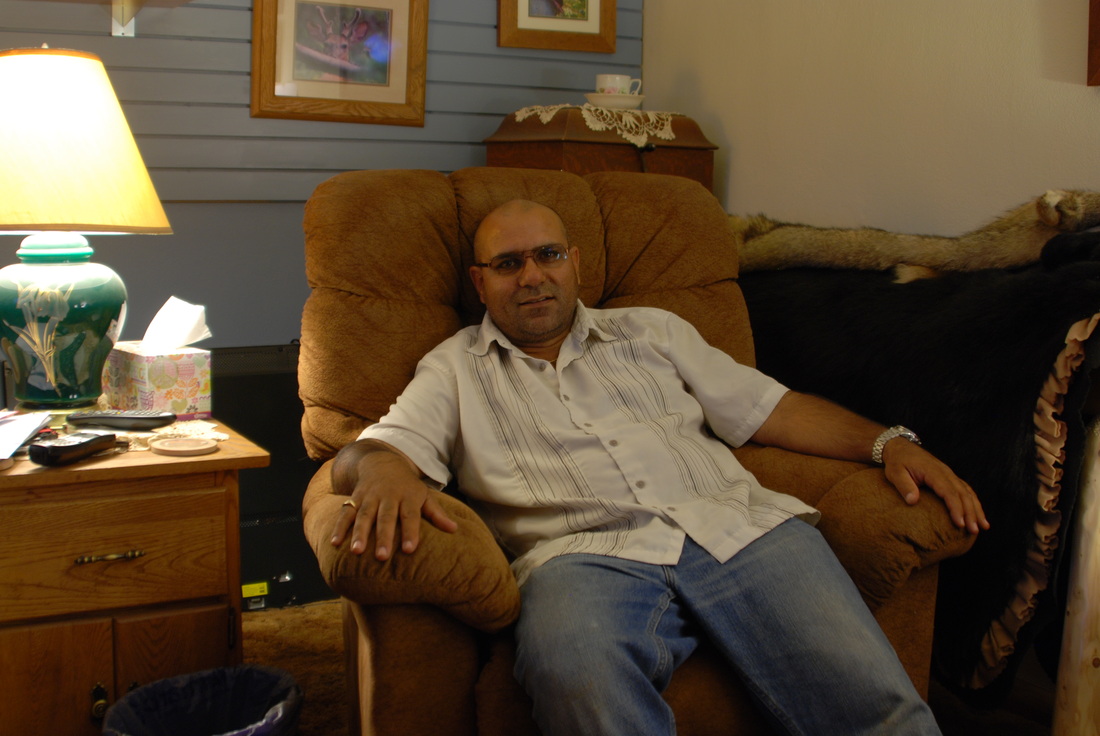
Pretty much the same photo of Fuad with our simple light set up....the first one is way to dark, and the second photo Fuad had me change the shutter speed. Still not perfect, but the lights were really bright for our product shooting.
Equipment used for this shoot.
2 CLAMP LIGHTS
SOFT WHITE SPIRAL LIGHT BULBS -100 WATT
WHITE PAPER OR CLOTH -big enough to cover table and part of wall behind in one continuous piece.
2-PIECES OF CARD BOARD COVERED IN WHITE
CAMERA
TRI-POD
SUBJECT MATTER
SOFT WHITE SPIRAL LIGHT BULBS -100 WATT
WHITE PAPER OR CLOTH -big enough to cover table and part of wall behind in one continuous piece.
2-PIECES OF CARD BOARD COVERED IN WHITE
CAMERA
TRI-POD
SUBJECT MATTER
SETTING UP
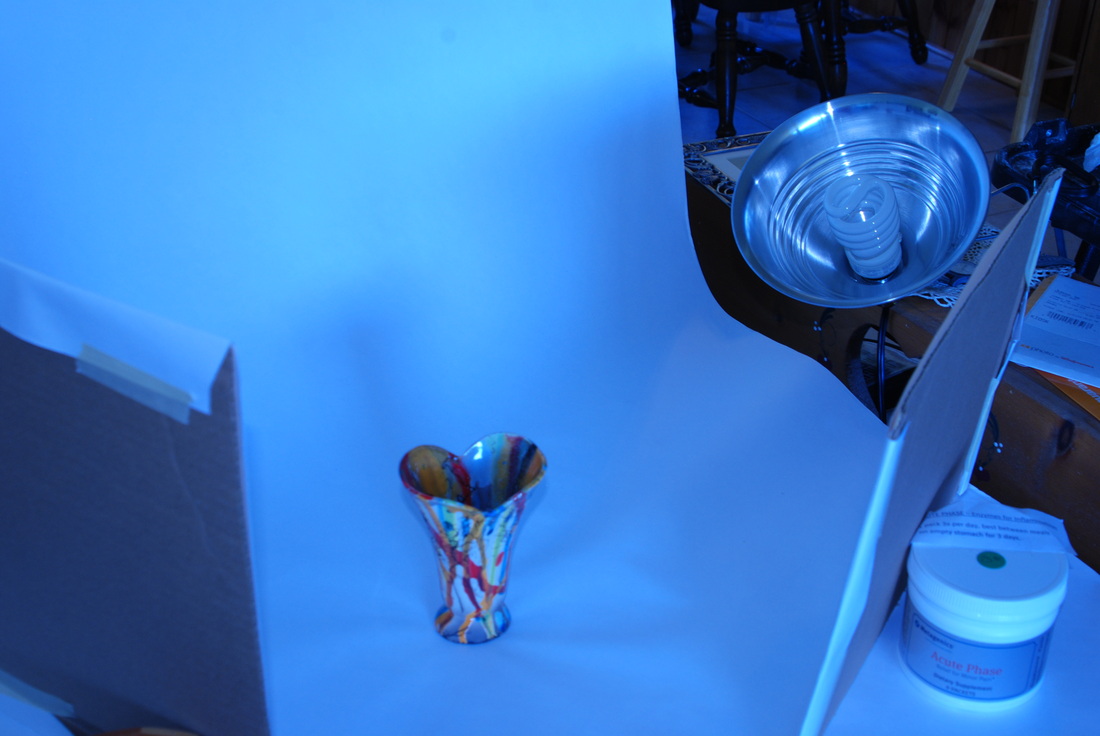
| We set up a card table next to the wall, covered part of the wall and all of the table with white paper. Clamped the lights on objects on either side and right next to the table. Our problem for the location was our wall sockets, we don't have them in strategic places in our home, so we had to make due with what we have. Then your two covered pieces of card board will be placed in such away as to act as reflectors for the lights, their size will vary according to the size of piece you are shooting. I just used the side of a cardboard box, as I was shooting approximately nothing taller then 10" and all my pieces sat well with in the diameter of the table. Turn the lights on approximately five minutes before taking photos, so they are warmed up to their full brightness. | 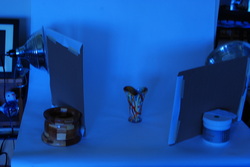
The images aren't as clear as I had hoped, but hey I am on my own today. My little Kodak camera does not have all these settings. |
GETTING THE CAMERA READY
Since Sam, my husband bought a new camera, I inherited his old one. So I have only used it a couple of times and I am NOT very familiar with any of the equipment.
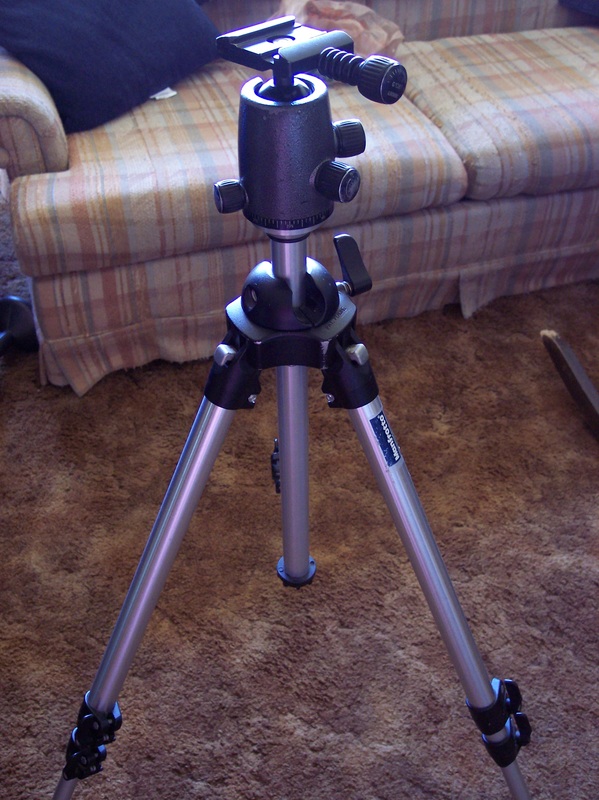
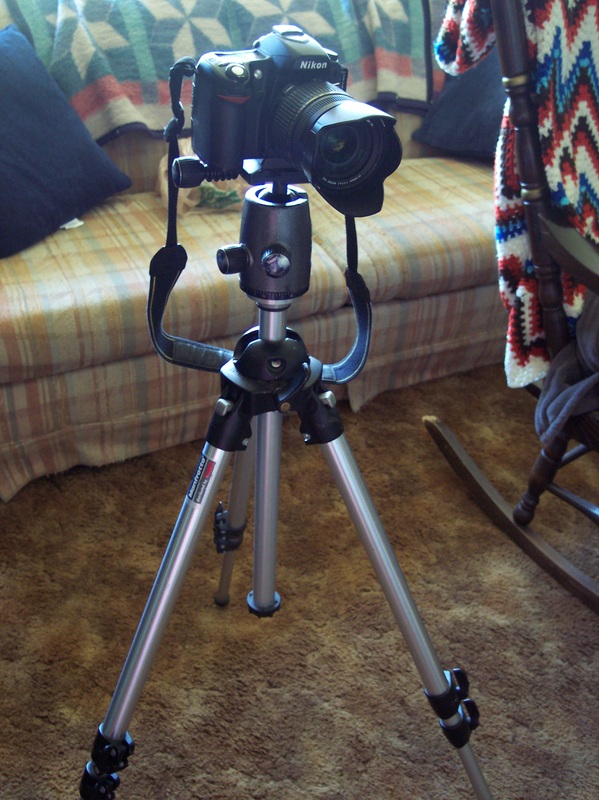
Set the tri-pod up, so you are in front of the "light box", you will need to have the camera on the tri-pod so the photos are clear, because the shutter speed is so slow.
Set the tri-pod up, so you are in front of the "light box", you will need to have the camera on the tri-pod so the photos are clear, because the shutter speed is so slow.
| 
| 
|
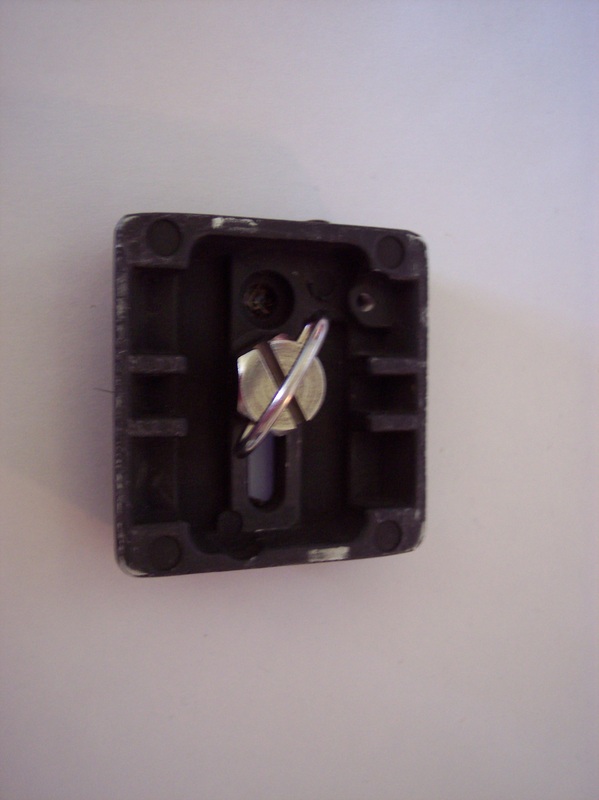
Don't forget the attachment for the camera to the tri-pod. Since the equipment is my husbands I have to remember to return the piece and not keep it attached to my camera.
SETTING THE SETTINGS ON THE CAMERA
To get the color of your background and subject to be correct, photographers take an image of a white card. What they call a "WHITE BALANCE", to help the camera be able to set itself to the color recognition you need for this type of shooting.

Looking inside your view finder while taking the "WHITE BALANCE", you need to meter manually down to zero, by turning your shutter until the bar on the meter says zero. (MANUAL should be in place on your camera first before taking the photo.)
Fuad used a plain piece of cardboard to take the photo. In fact it was the back of one of the pieces we had covered with white paper.
Then take a "White Photo" We used just the plain white paper that we already had set up on the photo shoot.
Fuad used a plain piece of cardboard to take the photo. In fact it was the back of one of the pieces we had covered with white paper.
Then take a "White Photo" We used just the plain white paper that we already had set up on the photo shoot.


| 
These are pieces taken while trying to get the "WHITE BALANCE" on the camera correct. They have a warm look to them, but distort the color of the art piece. |
For my camera that I am using, which is a Nikon- I think a D-80...(.remember, I do ceramics and painting.... photography is pretty new, except when I have used my Kodak Easy Share) These are the steps we took to get our WHITE BALANCE, using the Nikon camera. These steps are good for most Nikon cameras
MENU
White Balance -Pre (press the OK button)
Pre White Balance preset >
(press the arrow on the round button going in the > direction
USE PHOTO>
(press arrow on the round button going in the > direction)
SELECT IMAGE
(The camera will bring up the photos you took, select the white one)
MENU
White Balance -Pre (press the OK button)
Pre White Balance preset >
(press the arrow on the round button going in the > direction
USE PHOTO>
(press arrow on the round button going in the > direction)
SELECT IMAGE
(The camera will bring up the photos you took, select the white one)
Then turn back to AF on the side of camera. ( it had been in M for manual )
| 
|
Otherwise, you will get the first photo and not the second. The M will be in manual, and it will not come in clear. I took quiet a few photos this way before Fuad came and corrected the camera for me.
Shutter Speed-makes all the difference.
Looking inside the viewer you see numbers for both the F-stop and the Shutter speed. We changed the shutter speed to see how the light changed the photos.
| 
|

We didn't move the camera or the piece, only the setting for the Shutter Speed.
Working with Glare
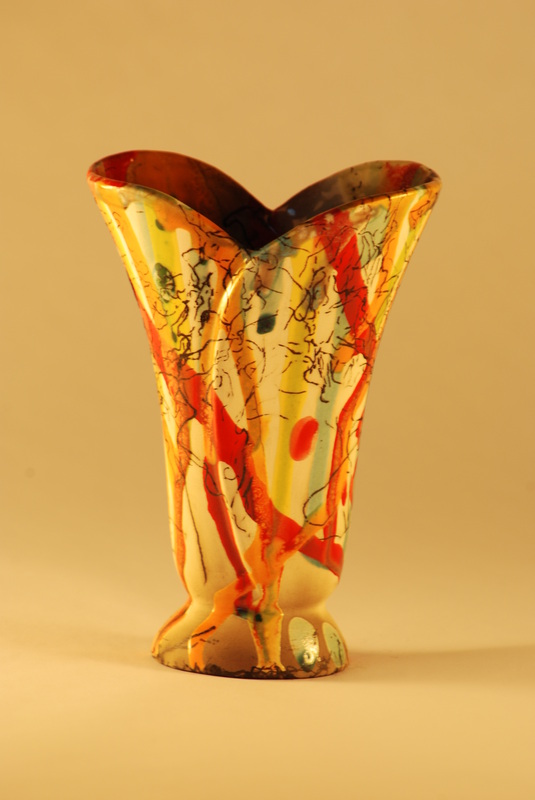
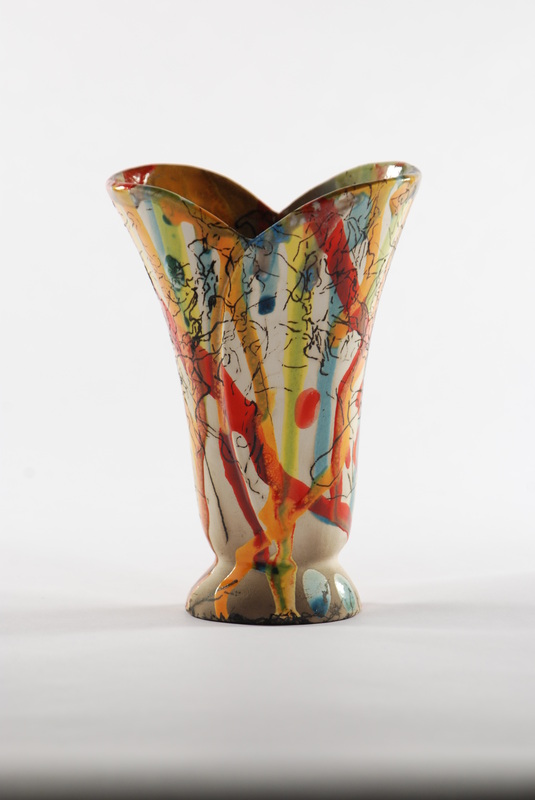
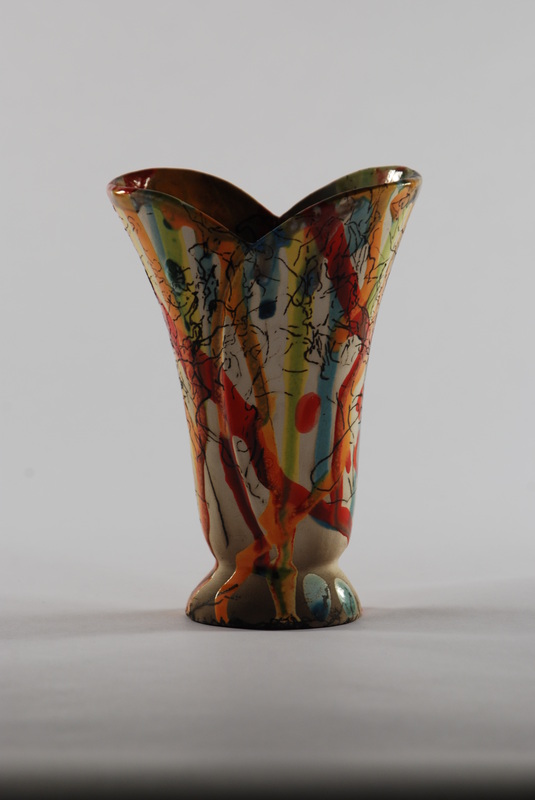
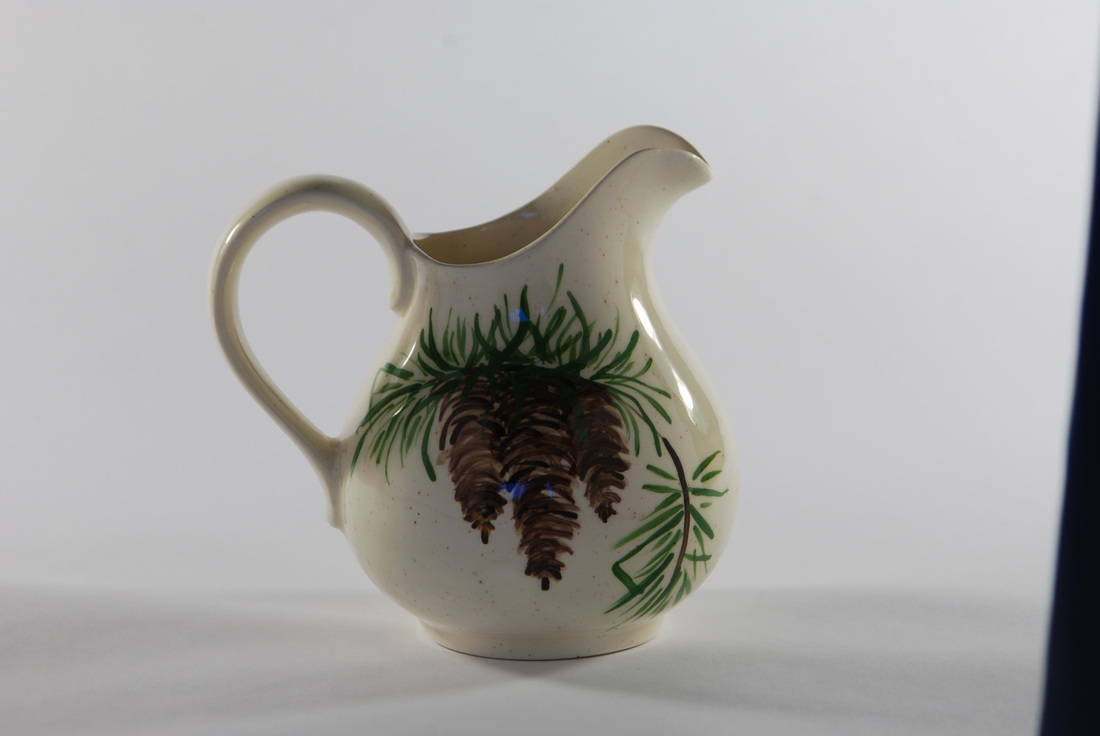
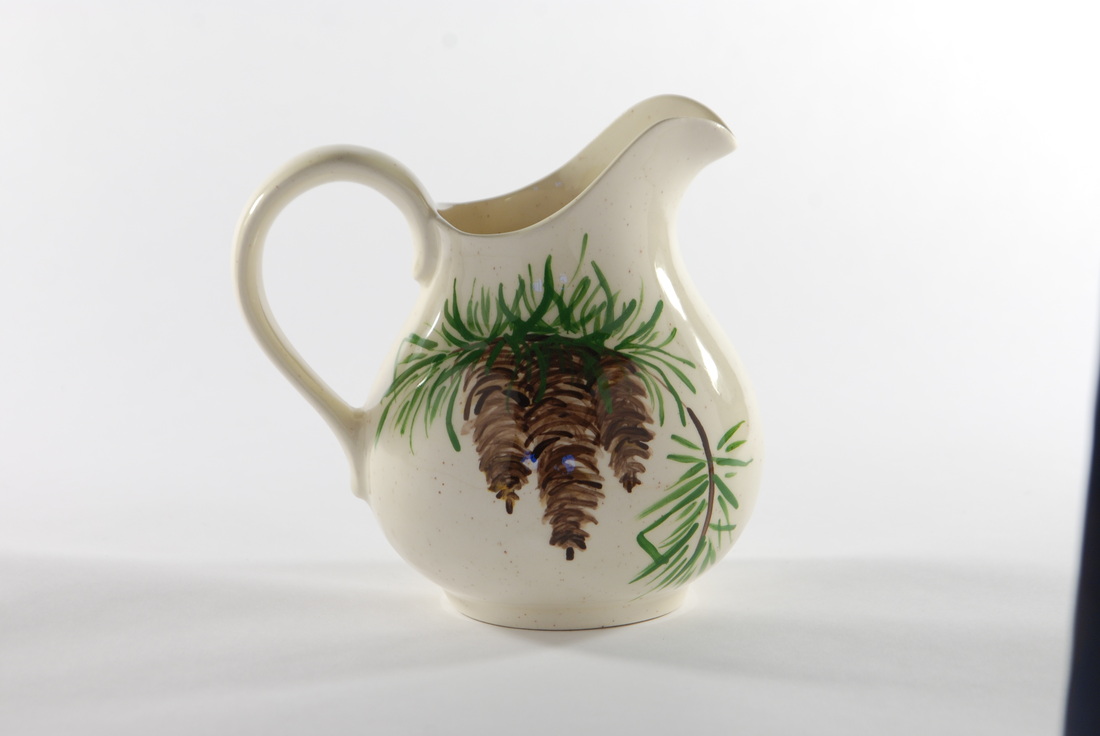
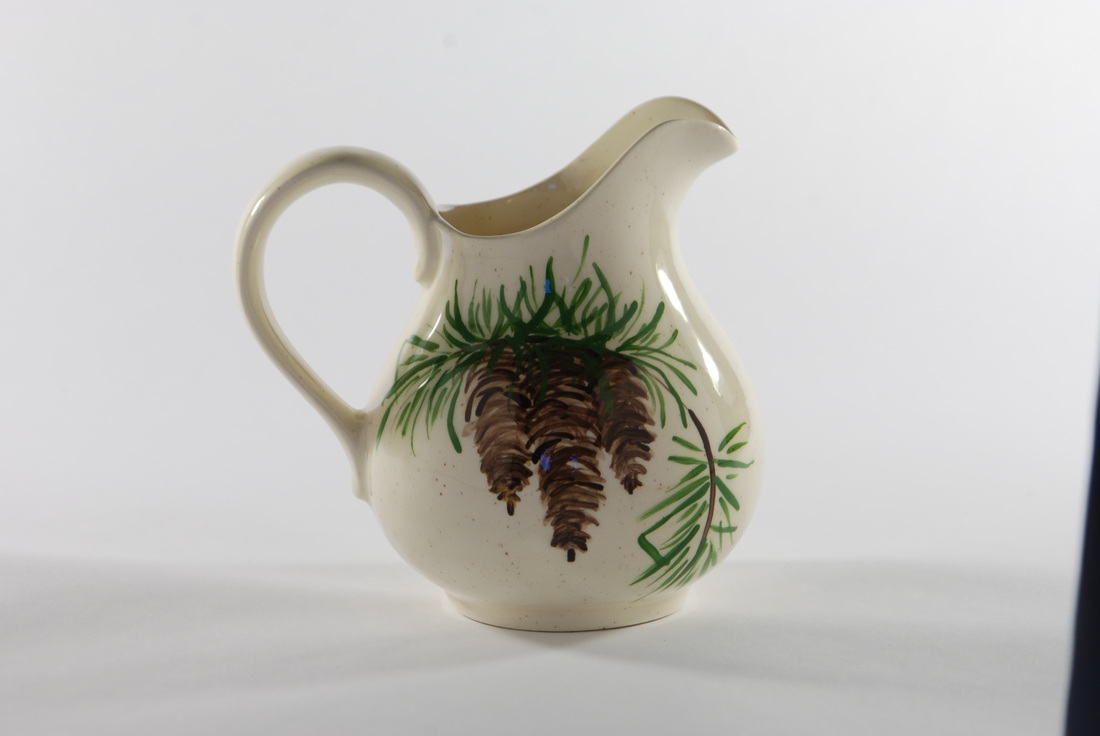
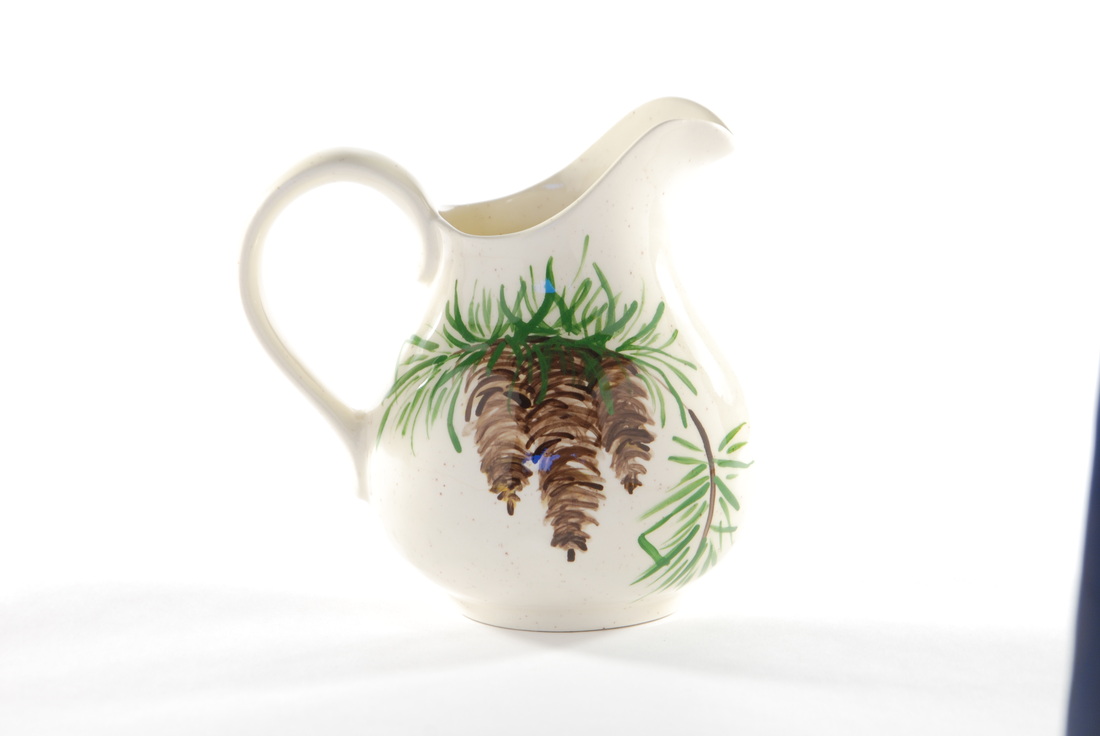
We choose the pitcher because it has a shiny glaze, where as the Horse Hair Firing which isn't totally glazed, nor as shiny. Fuad simply adjusted the card board pieces to diminish the "HOT SPOTS" on the pitcher. So that the glare did not distract the viewers eye from the art work.
THANKS FUAD
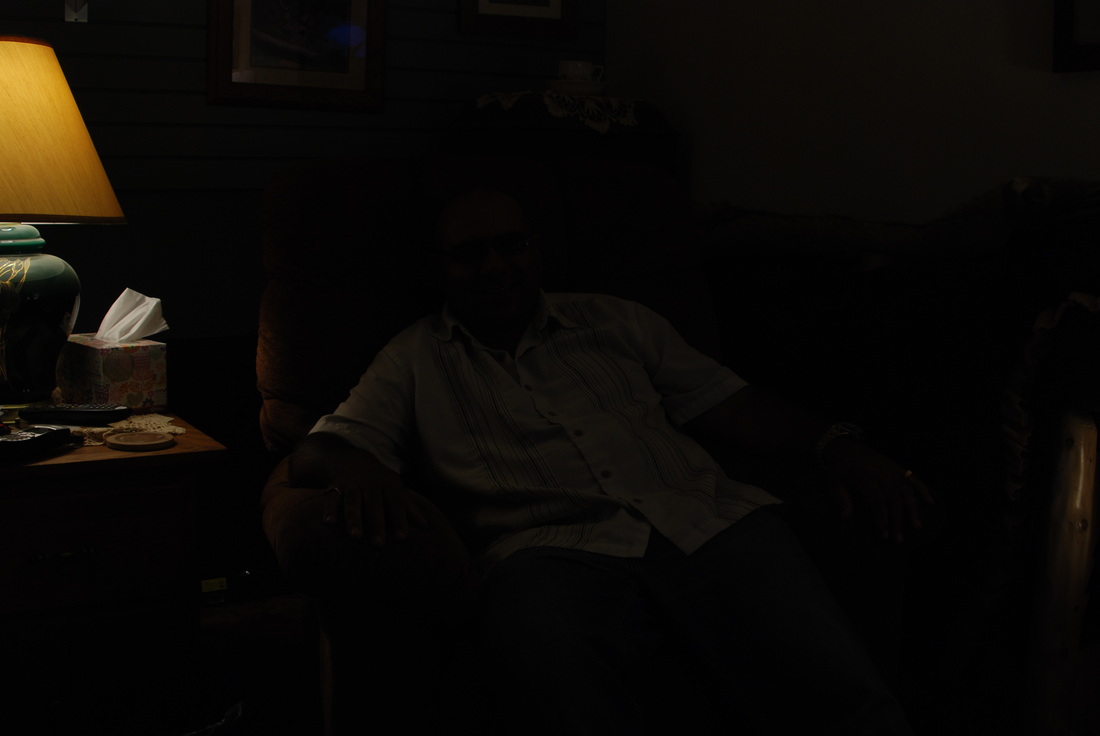
| Oops! Wrong Shutter Speed. Can not even see Fuad in this one. Good thing he was there to correct my camera settings. Fuad Azmat |
| 
|
 RSS Feed